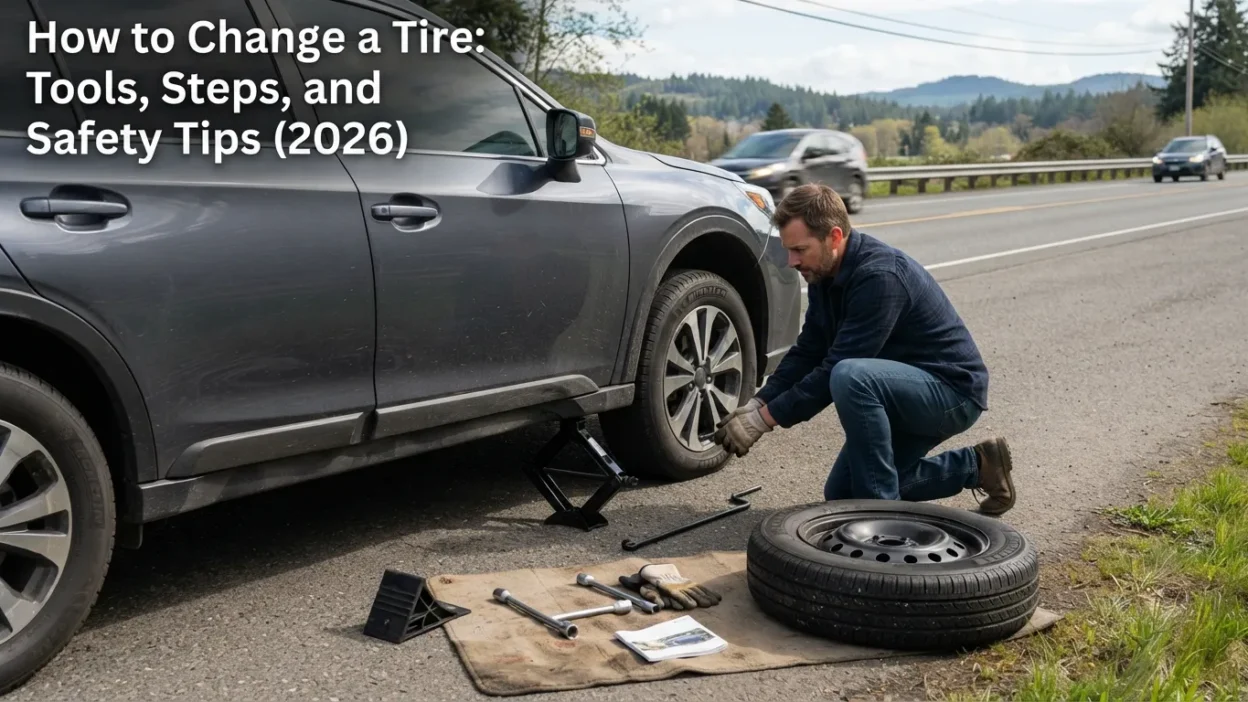
Getting a flat tire can turn a normal drive into a stressful moment. You may hear a strange thump, feel the car pull to one side, or notice the tire pressure warning light. Then comes the big question: how do you change a tire?
The good news is that you do not need to be a mechanic to handle a basic flat tire. With the right tools, a safe place to stop, and a little patience, you can replace a flat tire with a spare tire.
This guide explains how to change a tire step by step. We will cover what you need, how to use a car jack, how to remove lug nuts, how to install the spare, and what to do after the tire change.
Safety first:
If you are stopped on a highway, near fast-moving traffic, on a steep hill, or in an unsafe location, do not attempt the repair. Move to a safe place if possible and call roadside assistance.
What You Need to Change a Tire
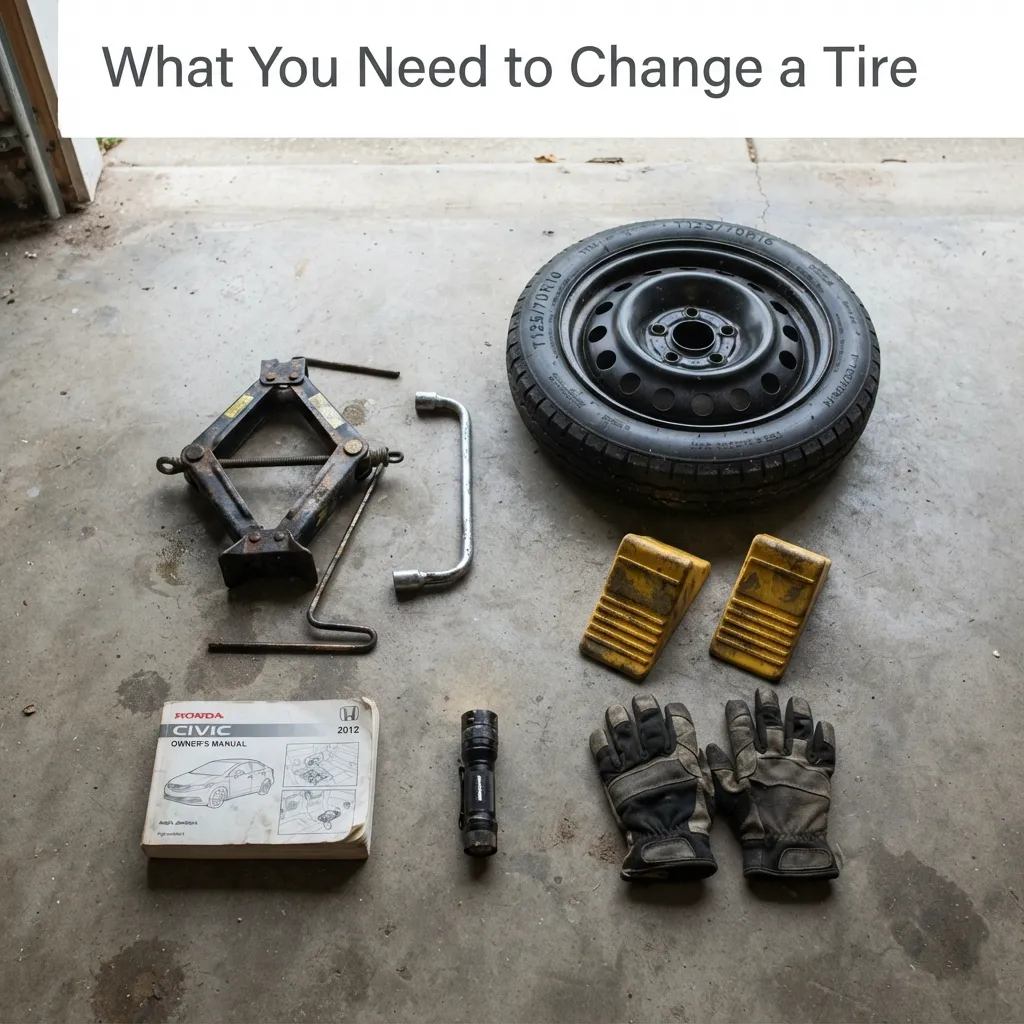
Before learning the steps, it helps to know the basic tools.
Most vehicles that include a spare tire also have some of these tools:
- Spare tire
- Car jack
- Lug wrench
- Wheel wrench
- Jack handle
- Wheel chocks, if available
- Gloves
- Flashlight, especially at night
- Owner’s manual
Some newer vehicles do not come with a traditional spare tire. Instead, they may have a tire repair kit or an inflator.
Check your vehicle’s owner’s manual before starting. The correct jack point and tire-changing procedure can vary between vehicles.
Where Should You Change a Tire?
Your first priority is finding a safe location.
If you notice a flat tire while driving, slow down gradually. Avoid sudden braking or sharp steering. Pull over when you can do so safely.
A flat parking area is best.
Avoid changing a tire:
- In moving traffic
- On a steep slope
- On soft mud or loose ground
- Too close to passing vehicles
- On an unstable shoulder
- In a place with poor visibility
Turn on your hazard lights to make your vehicle easier to see.
If you are on a busy road and cannot reach a safe area, staying inside the vehicle and calling professional roadside assistance may be safer than changing the tire yourself.
How to Change a Tire Step by Step
Now let’s go through the process.
Step 1: Secure the Vehicle
Put the vehicle in Park if it has an automatic transmission.
For a manual transmission, place it in first gear or reverse, according to your vehicle’s instructions.
Apply the parking brake firmly.
If you have wheel chocks, place them against the wheels that will remain on the ground. This helps reduce the chance of the vehicle moving.
Turn off the engine and keep the key with you.
Step 2: Find the Spare Tire and Tools
Open the trunk or storage area and locate the spare tire.
Then find the jack and lug wrench.
Some vehicles keep the spare under the trunk floor. Others store it underneath the vehicle or in another compartment.
Take everything you need out before lifting the car.
This is also a good time to check the spare tire’s condition. A spare with very low pressure may not be safe to use.
Step 3: Remove the Wheel Cover if Needed
Some vehicles have a hubcap or wheel cover over the lug nuts.
If yours does, remove it carefully using the tool provided with the vehicle or another suitable method described in the owner’s manual.
Do not force it if you are unsure how it comes off.
Step 4: Loosen the Lug Nuts
This is one of the most important steps.
Before lifting the vehicle, use the lug wrench to loosen each lug nut slightly.
Turn the lug wrench counterclockwise to loosen it.
You may need to use steady pressure. Do not jump on the wrench or use excessive force that could damage the tool.
You only need to loosen the nuts at this stage. Do not remove them completely yet.
Keeping the tire on the ground gives you more resistance while loosening the nuts.
Step 5: Find the Correct Jack Point
Look under the vehicle for the correct jack point.
The location is usually shown in the owner’s manual. Some vehicles have a reinforced section near each wheel specifically designed for the jack.
Never place the jack wherever it looks convenient.
Using the wrong point can damage the vehicle or make the jack unstable.
Position the jack on firm, level ground.
Step 6: Raise the Vehicle
Insert the jack handle and slowly raise the vehicle.
Keep your hands and body away from areas underneath the vehicle.
Raise the vehicle only until the flat tire is slightly off the ground.
You do not need to lift the vehicle very high.
Never put any part of your body underneath a vehicle supported only by a jack.
A jack is designed to lift the vehicle, not to provide a secure support system for working underneath it.
Step 7: Remove the Lug Nuts
Now that the tire is off the ground, finish removing the loosened lug nuts.
Place the nuts somewhere safe so they do not roll away.
Remove the wheel by pulling it straight toward you.
If it feels stuck, do not put yourself in a dangerous position or use excessive force. Follow your vehicle’s instructions for freeing a stuck wheel.
Step 8: Install the Spare Tire
Take the spare tire and line up its holes with the wheel studs.
Push the spare onto the hub.
Make sure it sits properly and evenly.
Then put the lug nuts back on by hand.
Turn each nut clockwise until it is snug.
Do not fully tighten one nut while the others are loose. Tighten them gradually in a crisscross or star pattern when applicable.
Step 9: Lower the Vehicle
Use the jack to slowly lower the vehicle until the spare tire touches the ground and the vehicle is stable.
You do not need to remove the jack completely yet.
Now use the lug wrench to tighten the lug nuts.
Tighten them in a crisscross pattern rather than moving around the wheel in a circle.
This helps the wheel seat evenly.
Step 10: Fully Lower the Vehicle
Lower the vehicle completely.
Remove the jack and store it safely.
Give each lug nut another firm tightening according to your vehicle manufacturer’s instructions.
If your vehicle specifies a particular torque value, use a torque wrench when possible. The correct torque is normally listed in the owner’s manual.
Avoid guessing if the manufacturer provides a specific value.
Step 11: Check the Spare Tire
Before driving away, look at the spare.
Make sure:
- The wheel is sitting correctly.
- The lug nuts are tightened.
- The tire does not look damaged.
- Nothing is loose around the wheel.
- The jack and tools are removed from the road.
If the spare tire has a recommended speed limit, follow it.
Many temporary spare tires are designed only for limited use and may have a lower maximum speed than your normal tires.
Step 12: Drive Carefully to Get the Tire Repaired
A spare tire is often a temporary solution.
Drive slowly and carefully, especially if you are using a compact temporary spare.
Avoid sudden braking, sharp turns, and high speeds.
Go to a tire shop or qualified service center as soon as possible.
If your spare has a speed or distance limit, follow those limits exactly.
How Long Does It Take to Change a Tire?
For someone who has never changed a tire before, the process may take 20 to 40 minutes.
An experienced driver may be able to do it faster.
The goal, however, is not speed.
Safety matters more than saving a few minutes.
Take your time to make sure the vehicle is stable and every lug nut is properly tightened.
What If the Lug Nuts Will Not Come Off?
Sometimes lug nuts can be very tight.
This may happen because they were over-tightened or exposed to corrosion.
Try steady pressure with the correct lug wrench.
Do not use a damaged or unsuitable tool.
If the lug nuts will not loosen, or you feel that forcing them could damage the wheel or tool, call roadside assistance or a professional.
It is better to wait for help than to create another problem.
What If the Tire Is Stuck?
A wheel can sometimes remain stuck to the hub even after all lug nuts are removed.
Do not crawl under the vehicle or put your body in a risky position to force it off.
If the wheel does not come free with a safe, reasonable effort, professional help is the better choice.
Can You Change a Tire Without a Spare?
Not every vehicle has a spare tire.
Some cars use:
- Tire sealant
- An air compressor
- Run-flat tires
- A tire mobility kit
If your vehicle has no spare, check the manufacturer’s instructions.
A tire repair kit may work for certain small punctures, but it cannot safely fix every type of tire damage.
A damaged sidewall, badly torn tire, or severely damaged wheel usually requires professional attention.
How to Change a Tire in the Rain
Changing a tire in rain is harder and more dangerous.
Wet ground can make your footing less stable. Visibility may also be poor.
If possible, move to a covered, safe location.
Use your hazard lights and stay alert to surrounding traffic.
If you are on a busy road or the vehicle is in an unsafe position, call roadside assistance instead of attempting the repair yourself.
How to Change a Tire at Night
A flat tire at night can be stressful.
Use a flashlight or headlamp so you can clearly see the jack, lug nuts, and wheel.
Keep your hazard lights on.
Never assume other drivers can see you.
If traffic is heavy or the location is dangerous, getting professional help is often the safest option.
Common Tire-Changing Mistakes to Avoid
Knowing what not to do is just as important as knowing the correct steps.
Lifting the Car Before Loosening the Lug Nuts
The wheel may spin when it is off the ground.
Loosen the lug nuts slightly before lifting the vehicle.
Using the Wrong Jack Point
The wrong location can damage the vehicle or make the jack unstable.
Always check the owner’s manual.
Getting Under a Jacked-Up Vehicle
Never put your body underneath a vehicle supported only by a jack.
This is a serious safety risk.
Forgetting to Tighten the Lug Nuts
Loose lug nuts can create a dangerous wheel problem.
Check them carefully before driving.
Driving Too Fast on a Temporary Spare
Temporary spare tires often have special speed and distance limits.
Read the information printed on the spare and follow your vehicle manufacturer’s instructions.
Leaving the Flat Tire Behind
If there is enough storage space, take the flat tire with you.
A damaged tire may still need inspection or repair.
How Often Should You Check Your Tires?
You should not wait for a flat tire to discover a problem.
Check your tires regularly.
Look for:
- Low tire pressure
- Cracks
- Bulges
- Uneven tread wear
- Objects stuck in the tread
- Excessive tread wear
Use a reliable tire pressure gauge and compare the reading with the recommended pressure listed by your vehicle manufacturer.
The correct pressure is usually found on a label inside the driver’s door area or in the owner’s manual.
What Should You Keep in Your Car for a Flat Tire?
A small emergency kit can make a flat tire much easier to handle.
Consider keeping:
- Spare tire
- Lug wrench
- Vehicle jack
- Tire pressure gauge
- Flashlight
- Gloves
- Reflective warning gear
- Wheel chocks
- Portable phone charger
- Emergency contact information
Check your spare tire and tools from time to time.
You do not want to discover that your spare is flat when you already have a flat tire.
When Should You Call for Roadside Assistance?
Changing a tire yourself is useful, but it is not always the right choice.
Call roadside assistance if:
- You are in heavy traffic.
- The vehicle is on an unstable surface.
- You cannot safely position the jack.
- The lug nuts will not come off.
- The tire or wheel is badly damaged.
- You do not have the correct tools.
- You are uncomfortable performing the repair.
- Weather conditions make the repair dangerous.
There is no shame in asking for help.
The best tire change is one that gets you back on the road without putting you or anyone else at risk.
FAQs:
Q1. How long does it take to change a tire?
A beginner may need around 20 to 40 minutes. Someone with experience may finish sooner. Take your time and focus on safety rather than speed.
Q2. Do I need to loosen lug nuts before using the jack?
Yes. In most standard tire-changing procedures, you should loosen the lug nuts slightly while the tire is still on the ground. This gives the wheel resistance and makes loosening easier.
Q3. Can I change a tire on the side of the highway?
Only if you can safely move to a suitable location away from traffic. If you cannot, calling roadside assistance is usually the safer choice.
Q4. How far can I drive on a spare tire?
It depends on the type of spare and the vehicle. Temporary spares often have specific speed and distance limits. Check the spare tire and your owner’s manual before driving.
Q5. What should I do if my lug nuts are too tight?
Use the correct lug wrench and steady pressure. Do not use unsafe methods or damaged tools. If they still will not move, contact roadside assistance or a professional.
Q6. Can I drive immediately after changing a tire?
Yes, if the spare is correctly installed and the vehicle is safe to drive. However, drive carefully and follow any speed or distance limits for the spare.
Q7. Should I replace or repair the flat tire?
That depends on the type and location of the damage. A qualified tire professional should inspect the tire and determine whether a safe repair is possible or replacement is needed.
Final Thoughts:
Learning how to change a tire is a useful life skill. The process becomes much easier when you know where your spare tire, jack, lug wrench, and owner’s manual are before an emergency happens.
Remember the basic order: secure the vehicle, loosen the lug nuts, jack up the vehicle at the correct point, remove the flat tire, install the spare, lower the vehicle, and tighten the lug nuts properly.
Most importantly, never let speed come before safety.
If the location is dangerous or something does not feel right, call a professional. A few extra minutes of waiting are worth protecting yourself and others.

I am Scottking, the heart and voice behind PrayersVibe.com, where faith meets real-life emotions.
I am here to share powerful prayers, spiritual comfort, and words that heal the soul.
I am walking this journey of faith with you one prayer, one hope, one blessing at a time.